Playwright 02: Installing Playwright using NodeJS and VS Code.


In this blog, you are going to learn about installing Playwright using NodeJS on the Ubuntu platform. Playwright is cross-language, that is it supports multiple language bindings Java, Python, JavaScript, .Net and TypeScript to automate the tests.
Installing NodeJS on Ubuntu:
Go to this link Download NodeJS to download the nodeJS LTS version.
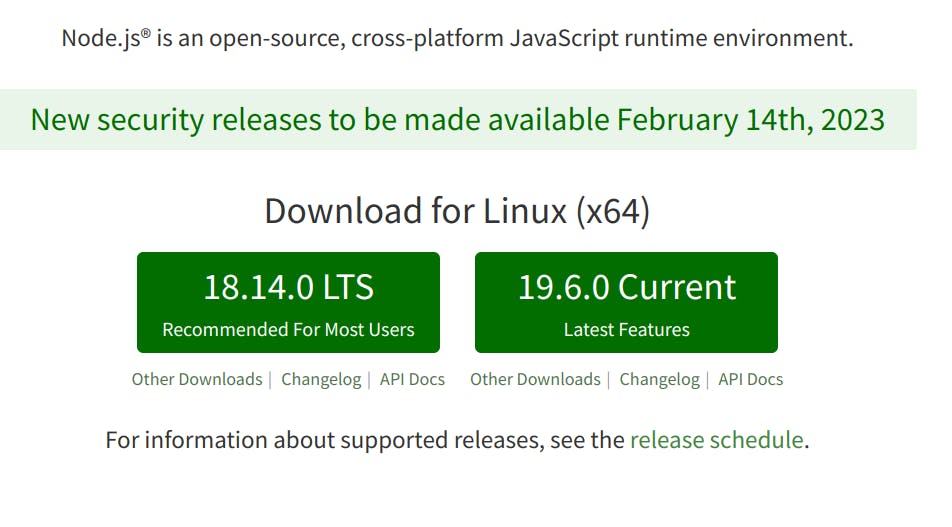
Click on the latest LTS version 18.14.0 (as of writing this blog) to download. Once it is downloaded, right-click on it and select "Extract Here" to extract the files. And it should look something like below.
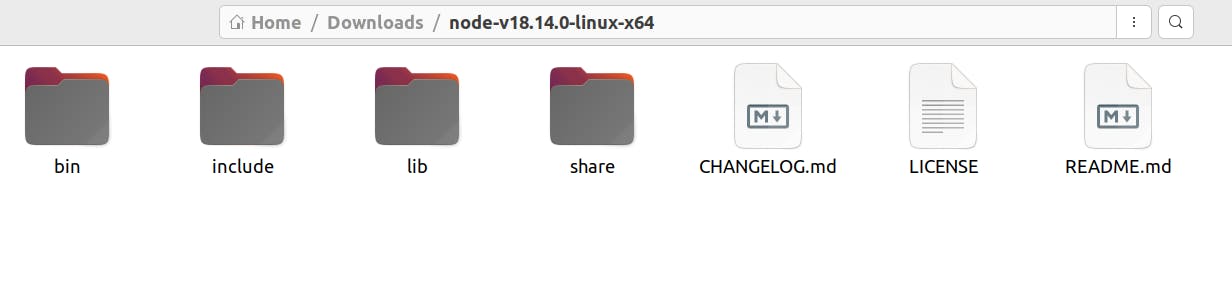
Now open the terminal and navigate to the "Downloads" folder (where the extracted folder is present).
And then run the below command to move all the folders inside it to "/usr/" to complete the installation.
sudo cp -r node-v18.14.0-linux-x64/{bin,include,lib,share} /usr/To check the installation status run the below command in the terminal again.
 brahma-VirtualBox:~$ node --version
 v18.13.0
 brahma-VirtualBox:~$ npm --version
 9.4.0
If you get the versions shown above, the nodeJS and npm are successfully installed on your machine.
Installing VS Code IDE:
Go to this link Download VS Code and you will see the download options for different Linux distributions as shown in the below screenshot.

Since our's is a Ubuntu platform click on the ".deb" package download.
Open the terminal and navigate to the folder where it is downloaded (generally the Downloads folder).
Run this command to install the VS code.
brahma-VirtualBox:~/Downloads$ sudo dpkg i code_1.75.1-1675893397_amd.deb
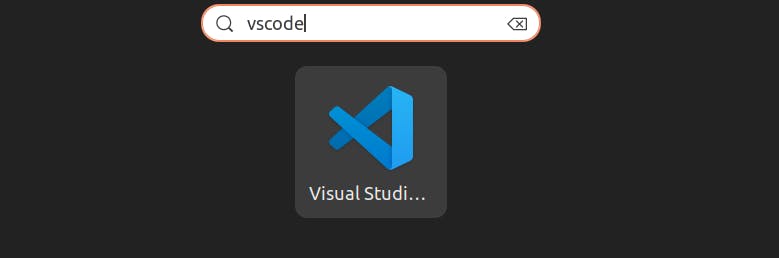
After the successful execution of the above command, search for VS code in your machine, and then you should find it like below.
With this VS code installation is completed.
Installing Playwright using npm:
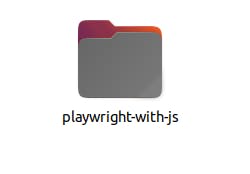
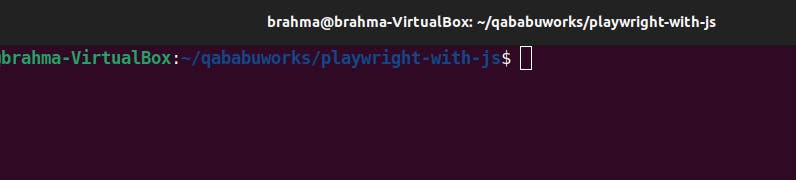
Create a project folder/directory, in which you want to create the Playwright project. In my case, I created a folder with "playwright-with-js".
Open the terminal and navigate to the folder created in the above step.
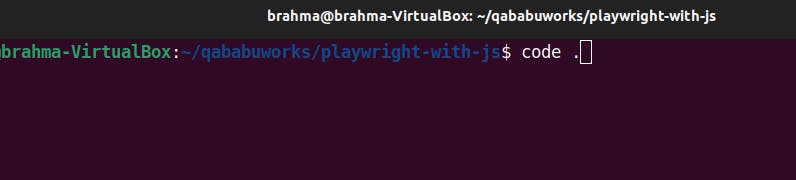
To open this folder in the VS Code IDE, just run "code ." command in the terminal.
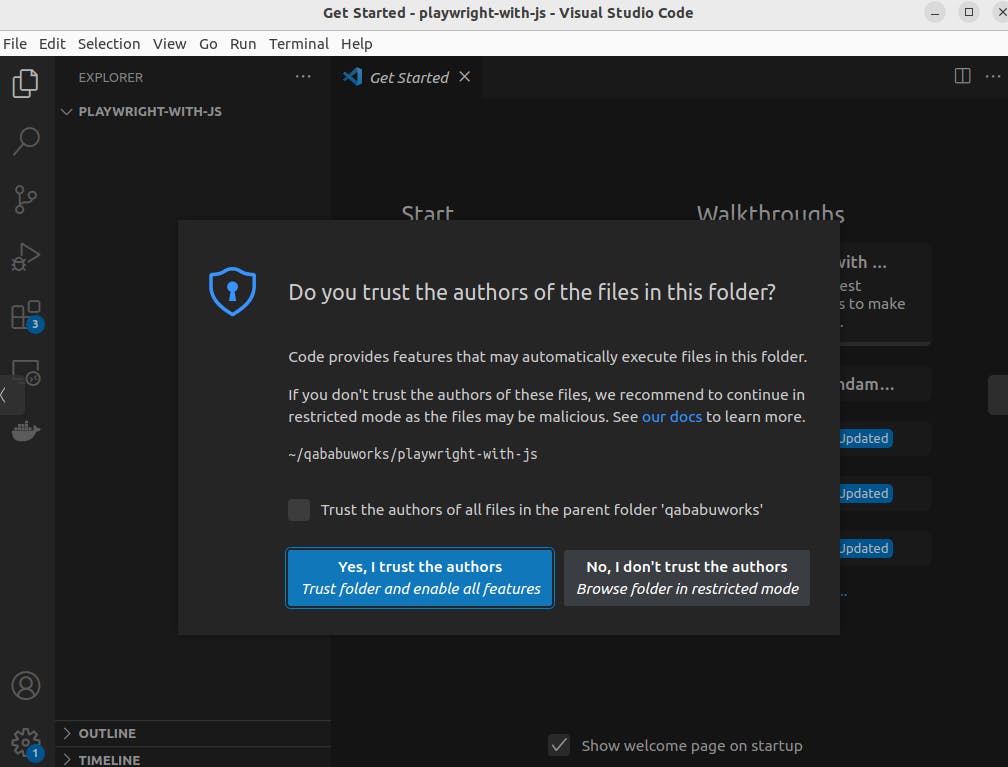
Select the checkbox and click on the "Yes, trust the authors" button.
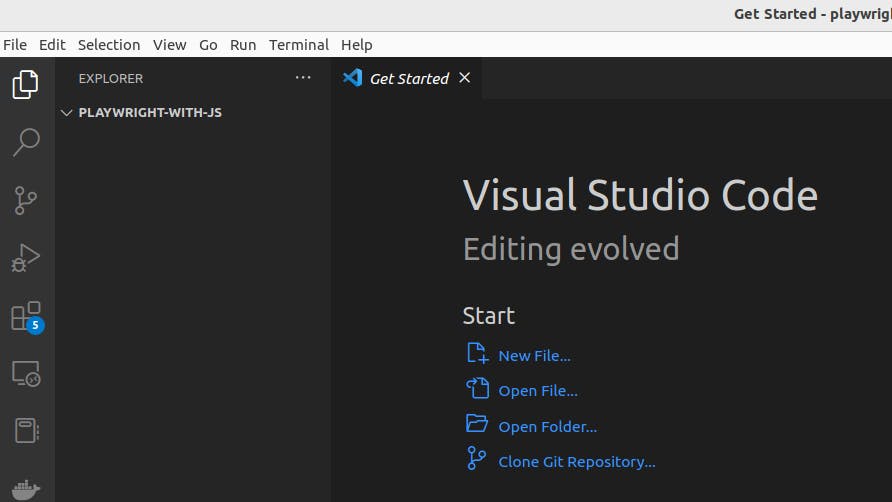
A new workspace should be created in the VS code as shown in the below screen.
Open a terminal in the VS Code, Terminal->New Terminal
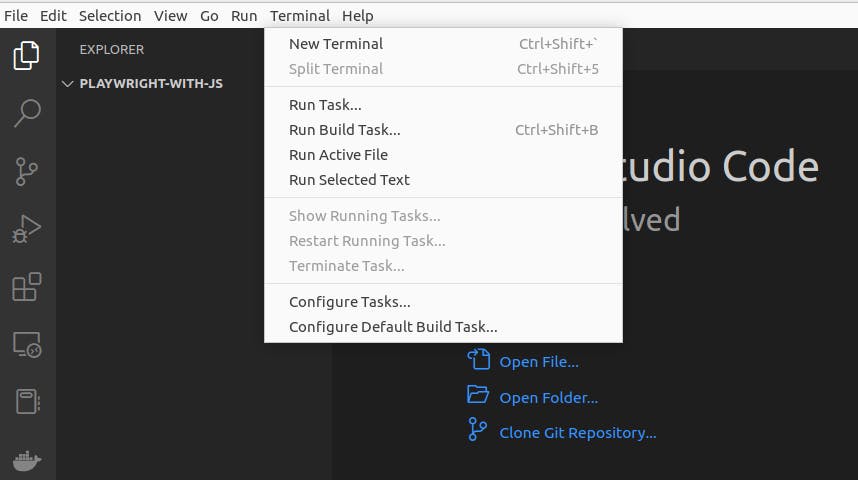
In the terminal run the below command to initiate the project and install Playwright.
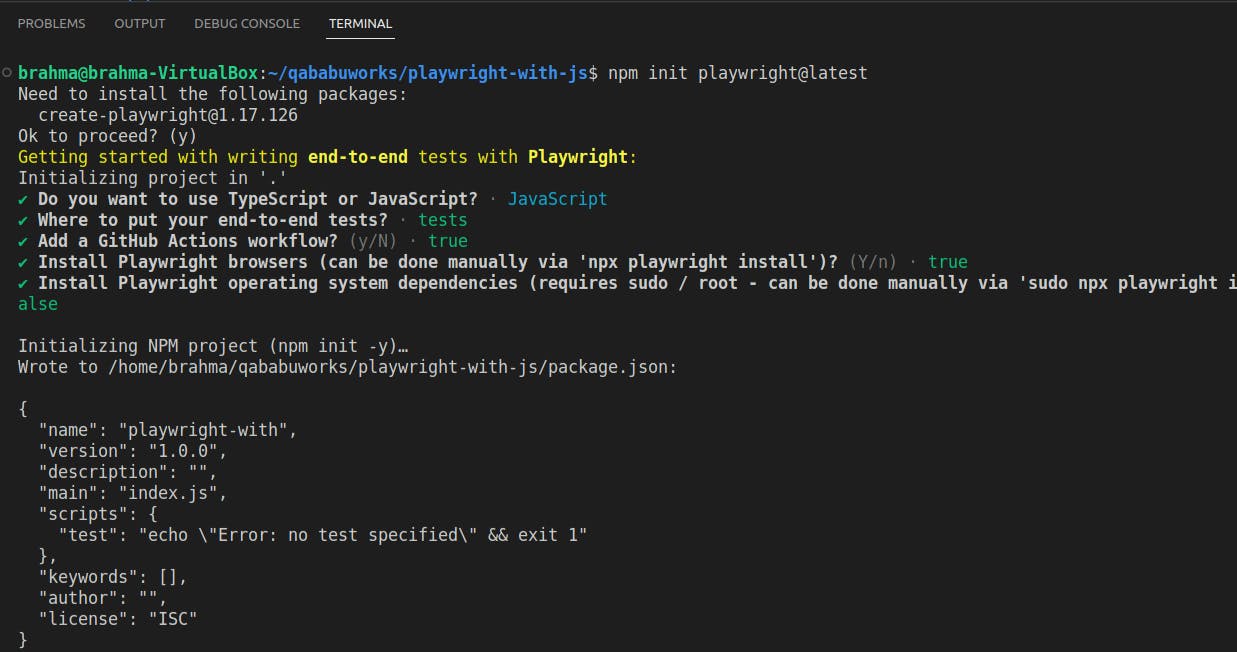
npm init playwright@latest
When the command is executed, you will be asked to select the language TypeScript or JavaScript I selected JavaScript and some other questions just keep pressing Enter key the installation will be completed.
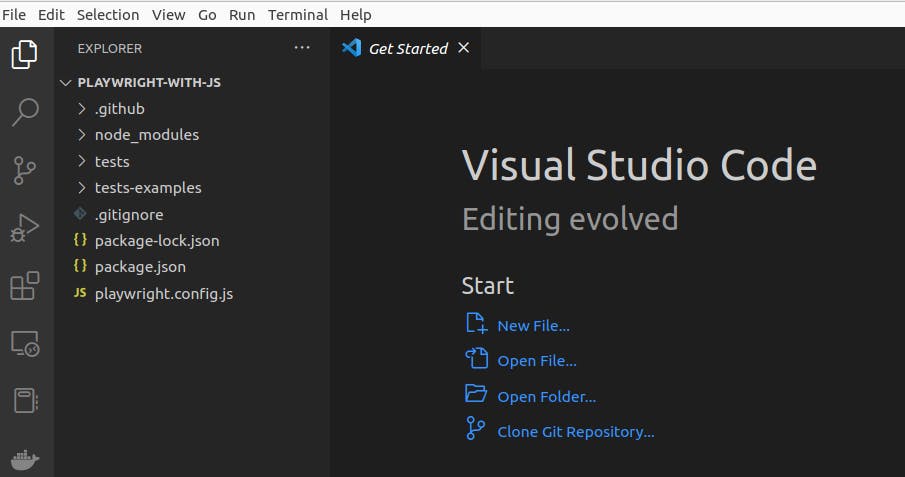
Also, you should see a folder structure like below
That's it we have successfully installed Playwright and created a project. We can start writing the tests now.
Installing Playwright using the VScode plugin:
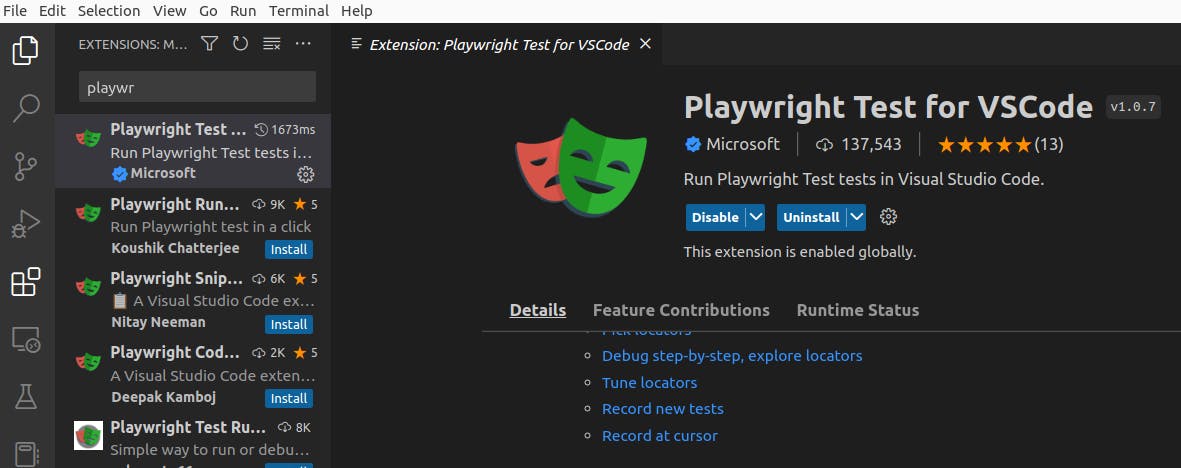
The other way to install Playwright in a project is, by using the VS Code extension. In the VS Code extensions search for "playwright". This extension is from Microsoft, just click on the install icon to install it.

After installation, the screen should look like this.
This is how we can install the playwright and create a project in the VS code IDE. Thank you for reading. #playwright #node #javascript #testautomation #brahmakothapalli